Sunday, 27 April 2014

Putting the wall back

I had the full week off this past week, originally intending to have a bit of a holiday as well as getting some work done on the house. As per the last post, the action needed to replace the rotten beams meant it was quite a long, busy week. Here's a summary of what we did from Monday to Saturday, with invaluable help from Sace, Silja and Nokda:

  • Removed 3 tonnes of rubble from the cellar.
  • Set up shuttering for an initial concrete pour on top of cellar wall.
  • Installed steel mesh.
  • Mixed and poured concrete to make a lintel spanning entire wall.
  • Set new 18x18cm preserved spruce beam in place on top of concrete lintel
  • Got three posts in place to form main part of load-bearing wall.


  • Wrapped sides of beam with damp-proof course.
  • Set up shuttering and did another small concrete pour beside beam.
  • Inserted a fourth 14x16cm post inder the load-bearing beam.


  • Began stud-frame construction.


  • Sistered another beam showing signs of rot.


  • Set up a temporary exhibition at the front of the house to illustrate the progression of rot in oak beams. 


  • And in between all that, got some of the frame in an upstairs bedroom wall started:


Not to mention cutting the grass, trimming hedges to make the place look nice for the May day celebrations this coming week.

Now the pressure is on to get the wall finished and get some form of floor down in the living room. We're getting pricing for plastering, as I simply can't do it myself, but there's a lot of prep work to do before that can begin. It's time to "give gas" as they say here.

Monday, 21 April 2014

Ups and downs

Been a rollercoaster of a week at the Bauernhaus. I'd been quietly working away upstairs to finish the basic body of the cabinets for the electrical switch box and a heating distribution manifold, as well as closing the hole in the wall between the landing and the east bedroom, all of which I completed.


I was delighted to get fasteners for the internal insulation/wall heating panels, to secure them to the wall before plastering can begin. I'd been looking forward to this, as once the plastering is done on these walls, it'll at least give the impression of a big jump forward. It's those little plastic discs in the photos below, which hide 20cm long screws going through the insulation to the masonry behind.


And my wife did a massive clean-out of the tobacco drying house, above the pigsty behind the house. Got some nice ideas for this place, but that's definitely on the long finger

And so, yesterday, I began the under-construction to straighten the gable wall of bedroom 3 (I'm numbering them now...)

BUT!

Our friend Sace dropped by with more fasteners for the insulation, and we chatted about replacing the rotten beam in the living room some time. The one that gave me a heart attack on discovering it in January last year (see the bottom of this post).

We'd had somebody look and say we could chop out half of the free beam and replace it with a new one, and for the beam that lies under the wall, to chop out that part between the door posts, and replace that only. Sace had a poke with a crowbar, an it soon became pretty clear that the rot was more extensive, and basically, the entire beam under the wall had to go. It's a wonder the posts standing on it had not collapsed through, as it is also a load-bearing member. As you can imagine, there were several expletives uttered, as this was a worse case scenario to me, and something I'd been hoping to avoid.

Being a man of action (him, not me), the rest of the day was an impromptu plan to get the main load-bearing beam spanning the living room supported with steel struts, rip the wall out, rip the rotten beams out, and prepare for pouring concrete.

But first, this is what the wall looked like a month ago.


Ok?

This is what it looks like now.


We got as far as getting shuttering in for pouring concrete with rebar. Unfortunately, being a Saturday in Germany, by this time there was nowhere open to get gravel, or steel, so work will continue on Tuesday, once the Easter break is done.

Here's what mighty oak gets reduced to when allowed to sit damp for a century or more. Basically, wood that normally bends nails when trying to hammer them in gets reduced to the consistency of Weetabix.


The view from the stairs.


Some of the other beams are showing old rot. We'll sister them to keep them stable.


So now we've more rubble to get rid of, nicely fallen through into the cellar.


Almost tempting to leave it open plan


One thing has to be said though. These old timber framed buildings are incredible. There is so much redundancy built into the structure, and it's so modular, you can do things like this, propping up bits to rip others out with apparent ease. Easier then with modern builds, I would say, but it does give me the shits looking at that massive beam floating like that. The sooner we've got a sturdy, permanent post under it the better!

Sunday, 6 April 2014

Up a level

There are probably, no, definitely more important things to be doing, but as I'm waiting on materials and help, for the past couple of weeks I've continued floor under-construction, partition walls and other stuff up on the second floor.

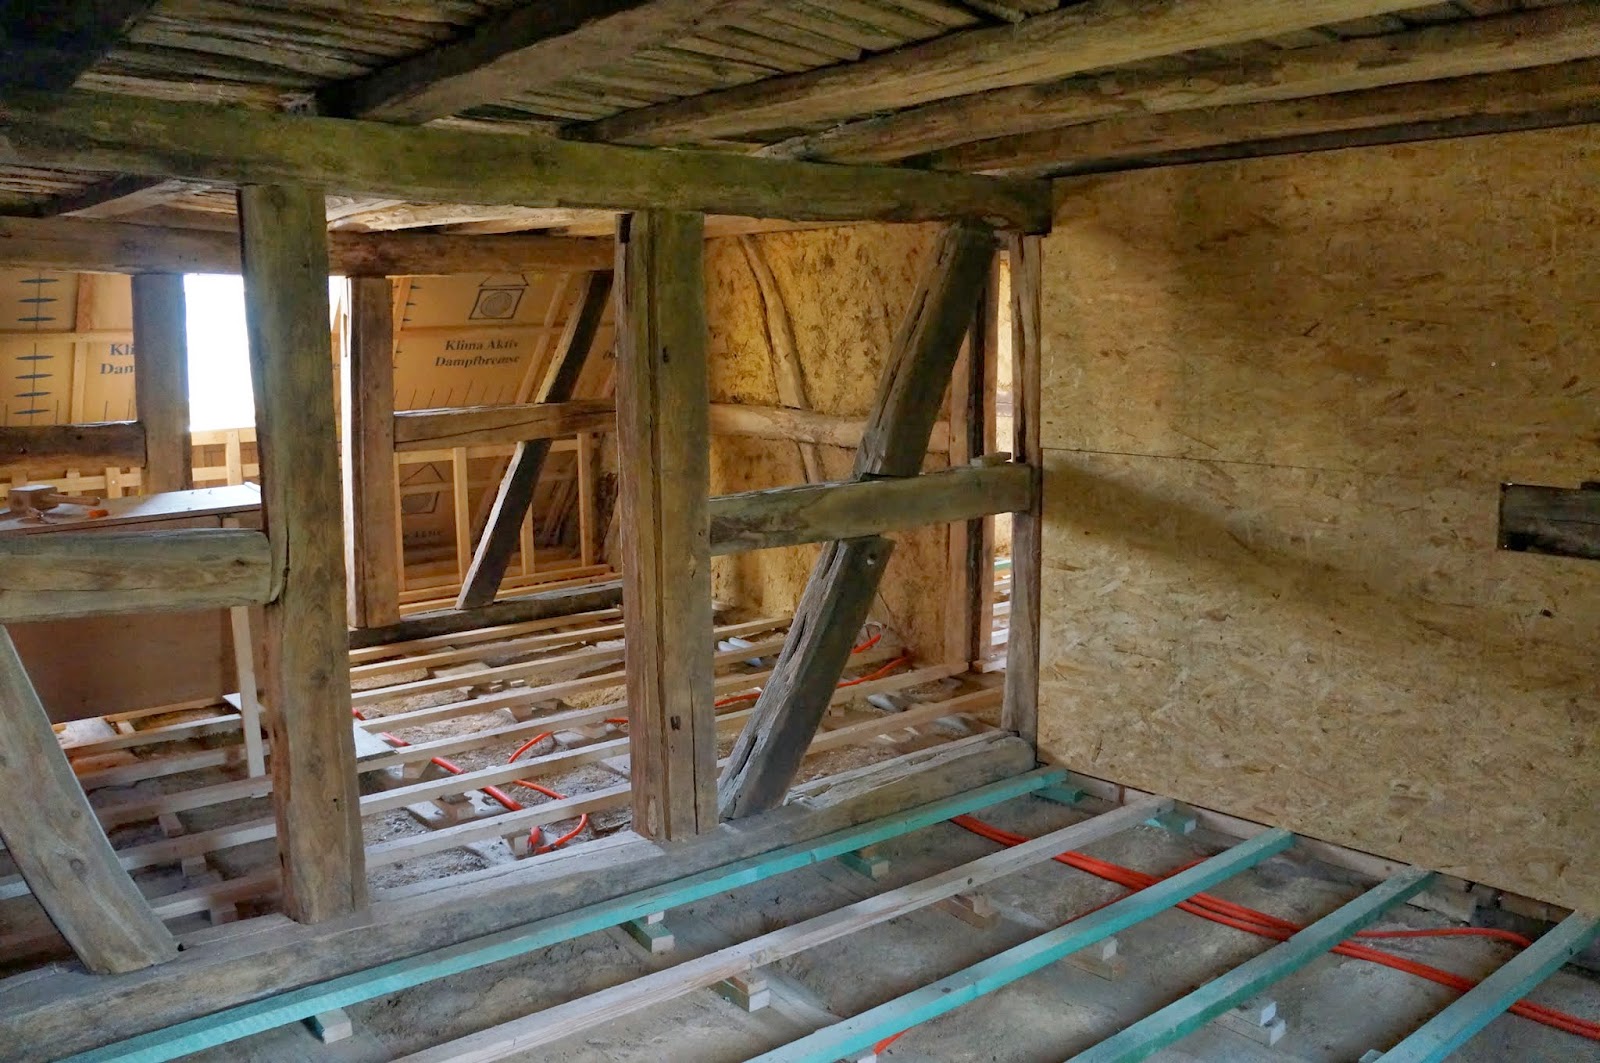
There are two potential bedrooms on this level, one is already done, and we thoughts we'd leave the other till after we moved in, but what the hell. Floor under-construction is finished now, and the wall between this room and the bathroom finally built. The OSB sheets will get plasterboard over them, leaving the rest of the timbers visible.


The gable wall is half-timbered, and insulated from the outside, but I'm not sure if I want to make all the effort to clean those timbers up, so may just put drywall in front of it, so we have a full wall on which to install the wall heating. Could be pretty to have the timbers visible, but with the ceiling, and the frames running through the room, there may be enough wood on view already.


All that's left to do it wire it up, get the floor down, plaster the ceiling, dry line the walls... well... at least it's a start.

At the same level, out in the hall, I made a start on the "comms cabinet". Basically, a press where all the phone and network gear will reside, with plenty of room on top for other storage. All the network cables are already running up to this point.


Meanwhile, down on the first floor, the last really dusty work for this level was done, chipping off old plaster in the hall, and using an angle grinder to clean the exposed timbers up a bit...


 ... as well as the huge central oak beam between the ground and first floor.


All the while, still been thinking how to tackle the third floor best...