Showing posts with label Facade. Show all posts

Friday, 23 November 2018

Milestone: sandstone framing done

The facade, around the 1930's, we think.
Back at the end of 2010, when we bought our house (wow... I have to let that sink in for a moment... 8 years!), the front door was a really ugly aluminium thing from the 70s or 80s, probably. At that time, they had taken out a section of the original wall, rebuilt it with clay blocks to straighten it and fitted the brown aluminium door. They had discarded the original sandstone frames visible in the black and white photo above, and put some tiling around the door frame. It was probably the height of modernity at the time, but by the time we got it, the door was not sealing properly, thereby letting in a cold breeze, and of course, the tiling was really ugly and dated, not fitting with the age of the house at all. We decided to leave the door in until the major works were finished, as we didn't want a shiny new door getting damaged when bring materials in and out.

2011, the "modern" framing around the original door.
In December, 2016, pretty much all of the heavy internal works had been completed, and we finally got a new front door, a little more in keeping with the house, and which made a huge difference to the heating. No more draft, no more ice on the inside of the door in deepest winter.

December 2016, the new door was fitted.
At the time, I'd cut out an L-form profile around the door to accommodate a sandstone surround, which would bring it back to the original style. I made sketches, with dimensions, to make it easy for prospective stonemasons. During 2017, we had other things on our mind, but had made tentative queries seeking pricing from a few stonemasons in the area, but most were happy just doing gravestones (a steady supply of undemanding customers, I guess), and made ridiculous offers.

How it has looked since December 2016.
In early 2018, the Mayor suggested a stonemason that they had used, and who specialised in restoration of old buildings, Melchior Naturstein. Really nice work. I mean, they normally do medieval church and castle renovations! By summer we'd met the boss, and he gave us a price that didn't induce cardiac arrest, and we ordered.

I guess they are pretty busy with much larger projects, so it too a while before they had time to fit us in, but today was the day they came to fit the surrounds. The profile was modelled on the second original door frame, which is still in situ (see below), and we wanted a proper step in front of the door, for which we had no template, so trusted them to decide on a block step profile that would fit.

The secondary entrance, with original sandstone frame.
And the result? I'm blown away. I didn't want to do this, as I thought it wouldn't be worth it, and I wanted it just plastered and finished. But my wife really thought it'd be good. She was completely right, and it was worth the wait


The front of the house looks complete! It's not quite done though. In spring the lower half will be painted, and the door on the far left needs a new outer stall door, like that on the far right (both former cow stalls). But for now, it just makes the facade look so much better. Really happy.


Thursday, 28 September 2017

2017 Catch-up

Apple harvest time is upon us again, but before I get to posting about a new apple mill renovation project, I thought I should give a brief update of what has happened with the house this year. Building had taken a bit of a back seat the first 8 months of the year, but things are picking up again, with projects that had been put on the long finger getting attention again.

But first, back to December 2016! One of the worst things about the house in winter was the old front door. An aluminium and safety glass monstrosity from the 70s or 80s that would not seal right, and had ice crusts on the inside during the coldest winter nights. Towards the end of 2016 we'd finally ordered a door, so in December I took an angle grinder to the door ope, to cut a space for a future sandstone frame. The original was dumped when they rebuilt this section of the wall, presumably when the existing door was installed, so we felt it would be nice to reinstate a frame.


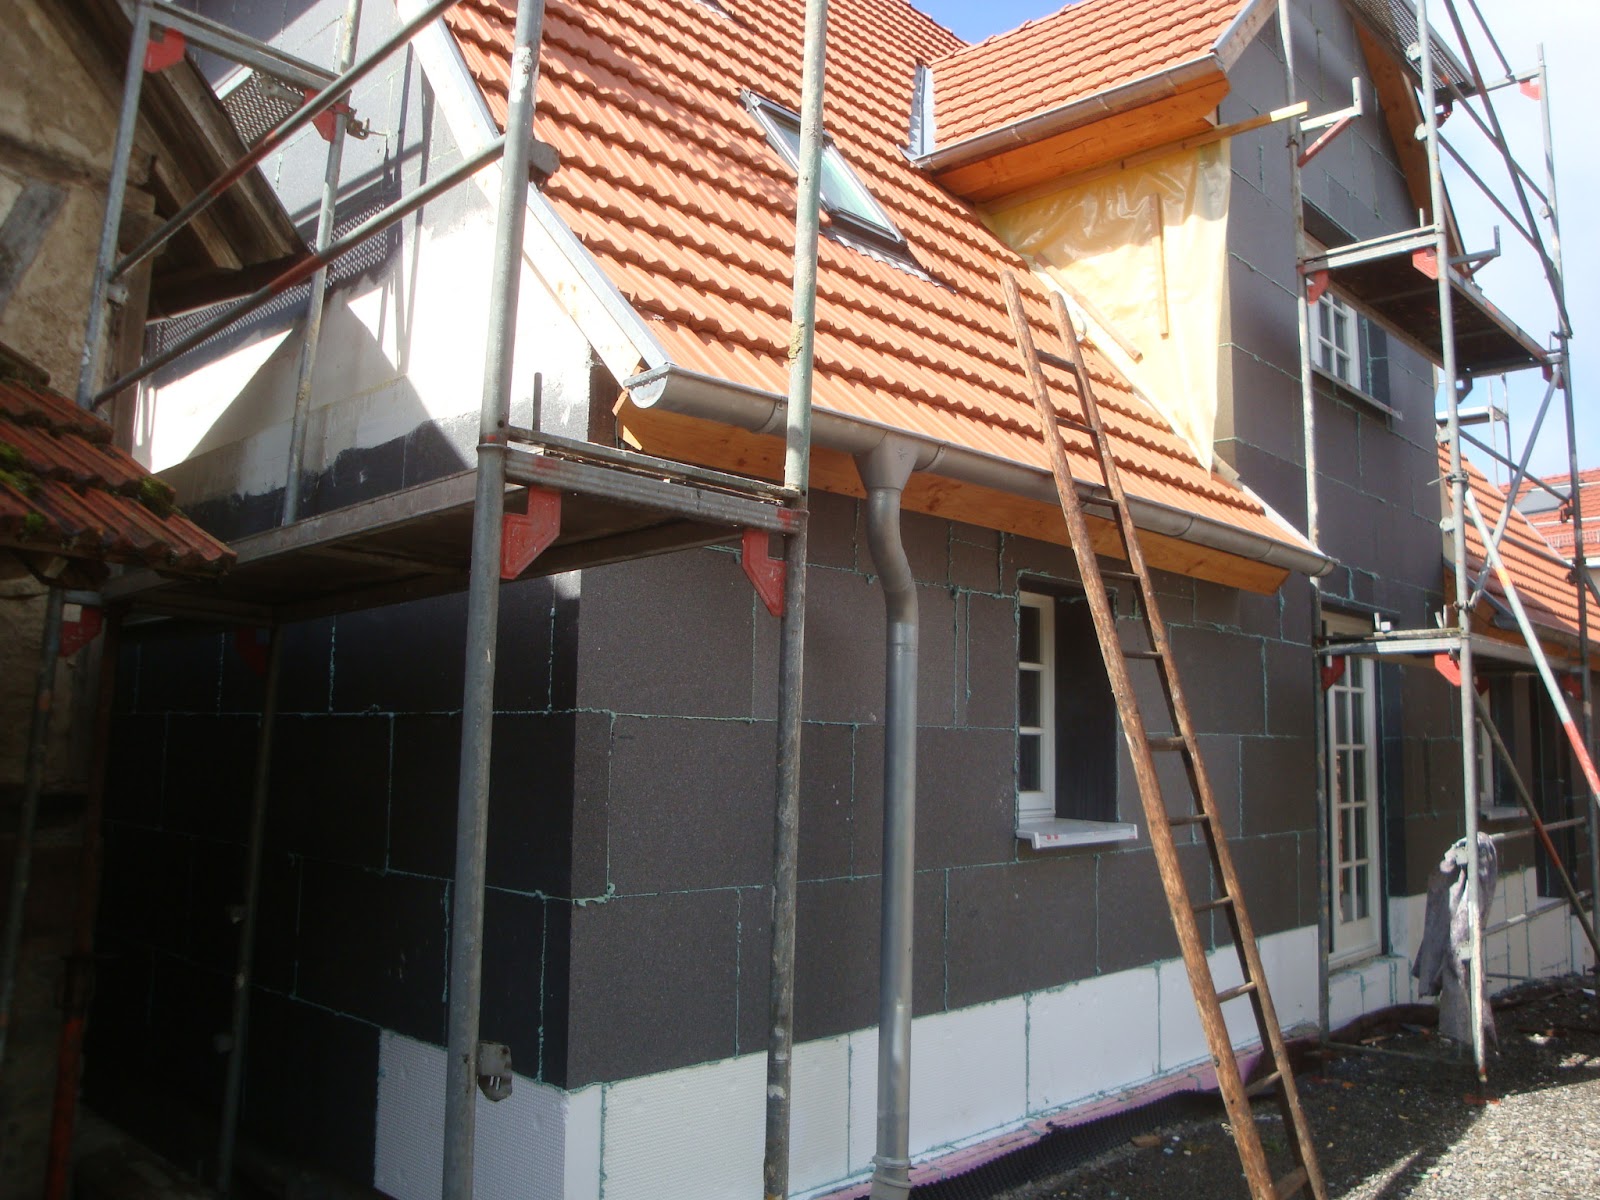
With the dirty work done, the new door was installed. It immediately made a difference to the climate inthe hall, being well insulated and closing properly, not to mention to the look and feel of the front of the house. Certainly more in keeping withthe style of the house. The colour matches the outer frames around the windows, so despite not being initially too sure about ordering that colour, we're very happy with it.


In January, we had some lovely snow, but also severe storms.

A view of the back of house.
It wasn't till a couple of days after the biggest storm, while walking over to our local, that I noticed the barn roof looked different. Walking around the other side, I saw a large chunk of roof missing. Inside the extent didn't look too bad, but those are asbestos corrugated sheets, and i wasn't happy having to deal with that at this stage. Sometime soon, I want to re-roof the stall part of the barn, and prepare it for solar panels, but that's another story.


Luckily, a good friend is in the trade, with the right kind of equipment, so the following day we bought material and patched up the hole with new cement-based sheets. Ugly, but necessary, and a little dear for a temporary fix.

Nearly done
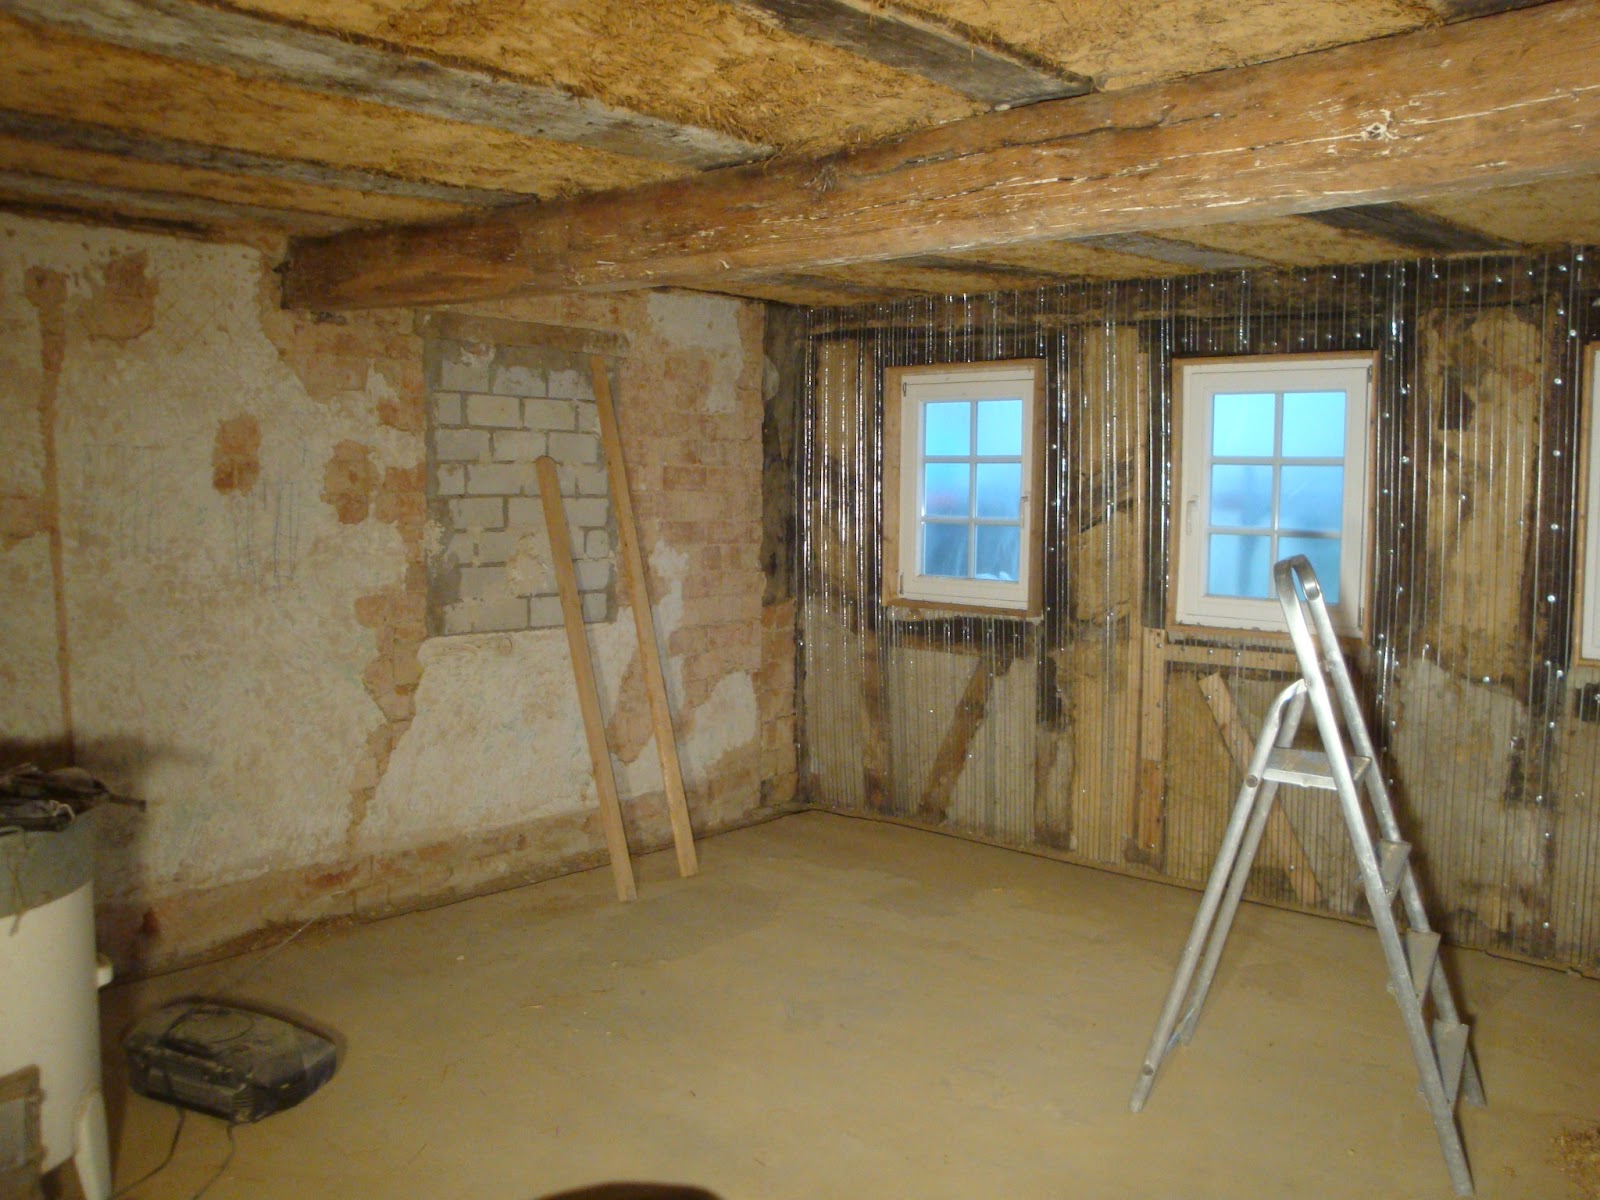
The next big thing was the second vaulted cellar. I had done the walls and ceiling in May 2016 (May!), but had not been able to continue the floor due to shoulder problems in the autumn. In March this year, I was able to kick this off again, with the removal of 4 tonnes of heavy clay, to bring the floor level down a bit. As with the beer cellar, the idea here was to build up a layer of pebbles to promote drainage (this cellar is considerably damper tan the other), topped with crushed stone and a final brick layer.

The stages can be seen in the photos below, including painting with a silicate paint, but that's as far as it got, as i have not been able to source reasonably-priced old bricks. We may do something else if I don't find any soon. This cellar is intended to be used as a food store, and should be ideal for storage of spuds, carrots and the like, once I build a new door.


In between all of this were some more hobby-related tasks, mostly relating to alcohol production.
I acquired a Cabernet Sauvignon Barrique early in the year, directly from the Schneider winery, so I made a stand for it then brewed 200 litres of Imperial Brown Ale to age in it. It's now serving, and was worth the effort!


In late summer I then had my first foray into making fruit wine, after a neighbour asked if I would like to use his father's redcurrants. Sadly, his dad is no longer able to do it, so I was only too happy to help continue the tradition with them. We used a berry mill and the cutest press I've ever seen, both built by his father and uncle. We now have 54 litres in the cellar, finished fermenting, so I'll have to bottle soon.


I forgot to mention the apple brandy I got distilled in January, but I may come back to that in another post. But as the Schnapps buzz has me, I mashed up 60kg of our cherry plums, so am hoping this will make a nice schnapps in January!


And that's a quick roundup of the positive highlights of the past 10 months. Stand by for the attic conversion, cellar insulation and another apple mill restoration.

Thursday, 19 July 2012

Adding more layers

More pictures, less text.

The back of the house got its first coat of plaster last week, making it less Lego-like.


Meanwhile, inside, I experimented with Putzschiene and Eckschiene (I think they're called beading and corner beading in English) as a means to get an even surface on the gable wall of the living room. This wall bellies outwards a bit, so it needed to be evened up before receiving internal insulation boards.

First, fixed up the beading at each end of the room, then when it had hardened, strung a line between them as a guide for the rest. Corner beading along the inside of the window opes, and continue the vertical line with the regular beading. The resulting straight edge meant a plaster depth of about 7mm at the top and bottom of the wall, and 2-3cm in the middle.

Beading set.

To fill that larger gap, lumps of mortar were thrown at the wall and allowed to harden before plastering and finishing using a 2m-long aluminium featheredge. Job done.
A dash of mortar
Fresh plaster done
On the front of the house, Enver, of the Bakan Clan (more of them anon), fitted sheet metal to cover the step in the wall. Basically, we wanted this done as when it rained, water would fall onto a horizontal surface and could seep in under the main beam running along the front of the house. Now it's sealed. It's a bit shiny, but perfectly fitted (I gut the chase into the beam, which was not pleasant work), and when it weathers to a dull grey it'll match the facade just fine.

Back in the kitchen, the plans are coming along, and today we more or less completed the desired layout, so all that is left to do is to choose equipment, fronts and handles, and get a good price! To help get to grips with the spacing, I sprayed out the placement of the units. This actually helped a lot in figuring out how people would move about the kitchen, and identified some bottlenecks. The post in the middle is a nice feature, but takes a little planning around.


So, moving along, but still too slow on the inside for my liking, but that's down to my own energy levels, which are currently low. Still, the living room is coming along nicely. Just a little more plastering to do before the base wiring and plumbing can go in!


Sunday, 8 July 2012

Putting stuff back in

A lot has happened since my last update, so rather than boring readers with intricate details, here are the highlights.

Edinger and co have finished the outer insulation on the north and east sides of the house (the other two sides will be insulted internally due to orders from the building protection people). Makes it look like a giant Lego house.


We've also finalised the colour selection, but you'll have to wait and see. what that turns out to be like.

I rebuilt a manhole rim that got crushed by the big excavator when they were connecting the house to the main sewage system.

Old rim drilled out and frame built.
Job done. A perfect fit.

Inside, I finally tackled the limestone wall in the living room, armed with a tuck pointing trowel and three long evenings.

A tuck pointing trowel, which became my best friend.
 But first, this is how the wall looked in April 2011, after removing the dry walling that had hidden it.

"The Wall", April 2011.

And this is how it looks now, after sandblasting and repointing (note the ceiling was also removed to expose the beams).


Used a lot more mortar than I thought it would. The only issue, is that the mortar and stone have a very similar colour, so it doesn't have quite the punch we wanted. Maybe a cleanup (more sandblasting!) will define the edges better. For the window sills, I plan on reusing some of the old oak floorboards from the level above, which are wide and thick, hopefully adding a bit of character.

On the inside of the south (front) facade, I'd prepped the walls for plastering by nailing on ribbed expanded metal sheets, a must, considering the mixed nature of the walls. The idea was to plaster the walls with lime plaster to make them even (they are a crazy mix of oak beams, wattle and daub, bricks, patches of new plaster and the odd roof tile) and sealed, before insulating with wood fibre insulation boards.

The bedroom, with ribbed metal sheeting done.

Of course, plasterers are expensive, and this plaster will never be seen, to I decided to have a go. Despite everyone I know who had restored a house, including skilled tradesmen, telling me they'd do anything but plastering, I have to admit, I really enjoy it!

Plastering the bedroom
One wall in living room finished tonight.

I won't win any prizes for the finish, but at least they are almost perfectly even, ready for sticking insulation on.


So really, we've finally begun to put stuff back into the house, and it feels good!

As a bonus, our "Turkish Cherries" are ripe, and already three buckets have been filled, and jam has been made.

Saturday, 19 May 2012

Glittering walls and a fireplace

Feeling like a good job was done, as yesterday and today I finished putting up the expanded metal sheets on half-timbered parts of the east gable. Sounds like a simple job, but try hammering 3.5kg-worth of 6 and 9cm nails into old oak beams. I've a lot of respect for the strength of oak, despite cursing it every time a nail bent (more often that I liked, and drilling pilot holes only got me so far till I broke my fourth and final drill bit of the right size). So, sheets cut, nailed on, overlapped, wire-tied and holes cut for the windows. Whole gable (2.5 stories worth) done in about 16 hours. I bet a professional could have done it a lot quicker, but working solo takes time.

Spot the bent nail.
Nice and tidy.
Half-timbered part begins at eve level.

From the back. Only one patch left.
Quite nice getting the sun on this side in the morning, and a birds-eye view of the work going on down below.

Meanwhile, inside, my wife discovered what looks like an old fireplace in the living room, while hacking off loose plaster. This is right at the bottom of the chimney (hence fireplace). The thought of reopening it flashed briefly across my mind, but I'd rather not take chances with that crack above it. We'll probably install a wood stove to the right, with a new stovepipe drilled directly into the chimney. Interestingly, the position of this fireplace is exactly in line with the wall we removed. We knew this was a later wall (modern material), but the position of a fireplace here suggests the living room was always a big, open room, or at least since 1937.
Old fireplace, probably built 1937.

We know this is the case, as the current chimney position was indicated as new on a 1937 plan. The former owners told is that legend has it that the house was used as a Gaststätte (Inn), and the living room was the common room. Something we have to research, but I find it hard to believe!

The proper village Gaststätte is also under renovation, though a lot faster, and to better standards, then ours.

Zur Linde, well-insulated.
Other smaller jobs done today: finally severed the electric cables leading to the barn and cleaned up the facade a bit. The cables were rather ugly, running across the front of the house, just under the eves. The new ones will run inside the cellar, across to the barn.