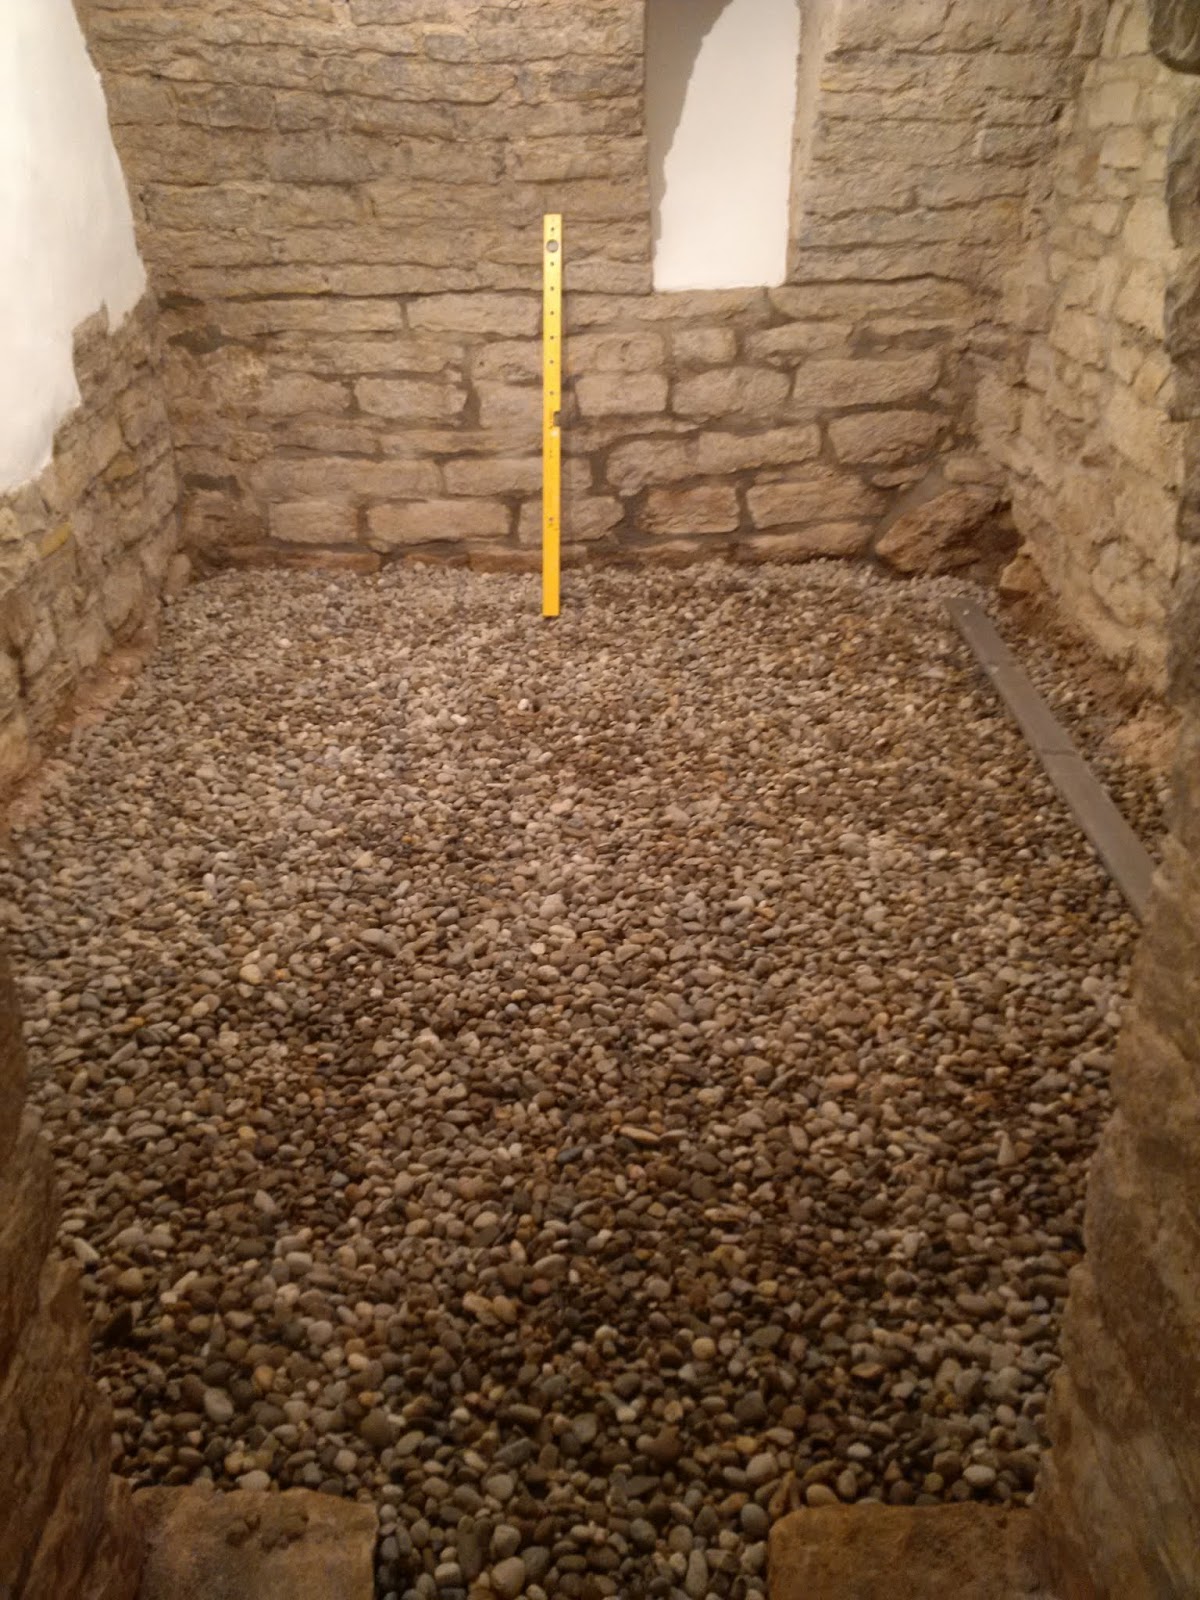
Wednesday, 18 November 2015

The entry hall, part 1

I don't know how many parts this project will have, as what seemed like an straightforward set of tasks in my head seems to have turned into a cascade of lots of interdependent jobs, some of which I didn't want to tackle just yet. However, I'm re-energised (somewhat) and want to get this done.

Essentially, the entry hall is ugly as hell, apart from the two natural stone walls and the sandstone door frames. The rest is bare blockwork, ugly fake marble tiles and stairs, and a hideous door.


The door is obvious. We need a new one, and must get one, it's just a matter of deciding exactly what type, but it has to be in keeping with the style of the house of course. And once a new door is in, the walls have to be plastered, but before that, they need to be insulated, and a bit of heating installed, to temper the hall a little in the really cold months.


But we also need to sort out the floor before the new door, and that means lifting the tiles, then pouring some self-levelling screed to build uo the level, as the old screed is falling apart and coming away with the tiles. And if we're doing that, we should get the front step sorted out before the door comes in too. And we need a couple of internal doors to separate cellar space from hall space. And the second vaulted cellar should be done before the hall floor is done, to avoide mucking new tiles and doors up.

And if I have to lift the tiles and pour screed, then the treads of the stairs will have to come off to let me access that corner. And they might break, as they are stuck fast, which means I have to accelerate the plan to swap out the treads with wood...

You see?

Anyway, it's going to be great to have a nice entry hall in a couple of months!

And here's a live view.


Thursday, 15 October 2015

Harvest 2015 and first steps for cider

Over the past few weeks, we gathered up fallen apples, cleared away rotten fruit, and then had two days harvesting everything that was tree ripe. We've left the Boskoop and the Glockenapfel for a little later, as well as one Jonathan tree.

Actually, I had to harvest mostly alone, so used a trick a neighbour mentioned, to save my back some strain, by putting down a plastic sheet before shaking the branches, so I could gather the apples into a pile, and sort them in comfort.


In the end, we had 285kg of apples (including one box of really nice Köstliche aus Charneux (Legipont?) pears. The rest of the pears we gave away for a good cause.


On Monday this week, we then took the fruit to local Safterei Klein, which are a professional outfit with a band press, pasteuriser and packaging equipment.


We basically dumped the apples into a hopper where they were rinsed and fed into a mill, which then deposited the pomace onto the band, where it was pressed to crazy efficiency. The waste is then conveyed away, and is either composted or given away as feed.


Meanwhile, the hose was turned on and I filled six sanitised fermenters to the brim. In total, 202 litres from the 285kg of apples. It took less than 15 minutes to do it all.


Once we got our juice home, it had to be redistributed a little, to give some head space, so my neighbour kindly gave me a 60 litre drum he no longer uses. Then a careful amount of potassium metabisulfite was added to each container and left for a bit over 24 hours.

On Tuesday night, i pitched the yeast. Given I had planned for cider yeast for five 25 litre containers of juice, I had to improvise and use beer yeast in the big one. And that's it! Fermentation has started, albeit slowly, as the cellar is currently 16,2°C, but from what I've read, a slow ferment isn't all that bad, and it's going to be some time before we're drinking it. I'll transfer the cider to thicker-walled plastic drums once the primary fermentation is done, probably in a few weeks, and then turn my attention back to beer brewing, so we have something else to drink while we wait for cider.


And if you're interested, here's a video of the press in action, from Klein himself.


Addendum: I forgot to add that the original gravity of the juice was 1.058, with a total acid content of 7g/L, expressed as tartric acid. So, for malic acid, I think that's 6.3g/L, which seems to be acceptable. Just so I don't forget! 


Friday, 25 September 2015

Introducing the orchard

Late last year, we bought a strip of orchard from our postman's mother. Exactly a kilometre from our door, the patch is just under 1.000 square metres with 30 trees. Twenty three apple, six pear and one cherry, the majority being quite mature, having been planted in 1958 by a club or association (Verein in local parlance). Essentially, this group bought two plots of land in different locations and a bunch of trees, planted them, and divvied the land into strips, so each person had their own plot. At our orchard, the total area measures something like 200 x 200 metres, with our patch measuring 100 x 10, with two rows of trees. Some people have 200 x 10 metres, or multiples thereof, and the main use is of course to make Apfelmost, which is essentially still cider.


We were given a list of what varieties were there, and most are what people would refer to as "Mostapfel", though with a bit of storage, some seem to be exceptional dessert apples, and lots are definitely good cookers.

This was the list the former owner gave us.
  • Boskoop - Belle de Boskoop
  • Klarapfel - White Transparent. A very early apple, and one of my wife's favourites
  • Glockenapfel - I couldn't find an English name for this, but it's essentially Bell Apple
  • Goldparmäne - King of the Pippins
  • Cox Orange - Cox's Orange Pippin
  • "Rote Apfel" - well, there are red apples there, but clearly she didn't know the variety
  • Birnen - at least three varieties of pear, some eaters, some definitely Mostbirnen for making perry
I took the trouble of pacing out the two rows, to map what is where, but there are quite a few blanks to fill in!


The trees had been left to their own devices for a while, so even my inexpert eye could see that some action was needed to get them back into shape. We were a bit slow out of the gates this past spring (well, February was the month we moved in), and it was mid-March by the time we went up with ladders, saws and loppers, to do some damage. We probably need more practice, but we at least got some of the worst conditions sorted a bit, though at the time, with no leaves on the trees, we were not always sure what kind of tree we were looking at.

Following this, we basically ignored, or rather forgot the orchard for a while. We walked though it while the trees were flowering, which was a lovely sight, but it was only a few weeks ago that we went back up for a look at how the apples themselves were doing. This was rather stupid, as the Klarapfel are an early variety, and we totally missed them. At least we know for next year.

We had allowed a neighbour to graze his sheep under the trees, which was one reason why little needed to be done during the year, as the grass was kept down. However, in future I'll ask him to keep them out after July so there is no shit on the ground during harvest time. We also learned that they like to half-chew apples when, a week ago, we went up and picked up all the fallen fruit. This yielded about 34kg of unchewed, non-rotten apples that can be used. We dumped probably six or eight times that much, between fruit that had simply rotted and many half eaten by the sheep. What we rescued were then washed and are now stored in trays in the cellar.

Boskoop on the right.
We were up again yesterday evening and got another 30+kg, with a far smaller proportion of rotten fruit, that had fallen during a windy day earlier in the week. We intend to harvest the rest in a week or so.

Even with the fruit on, we're uncertain what is Cox's Orange and what is King of the Pippins, so we're going to ask an expert to take a look, and my orchard map will be complete.

But what will we do with all this fruit? For those who know me, the answer should be obvious, but the main intention is to make cider, as well as having our own apple juice. Both are very popular around here, though the cider I intend making will be sparkling, unlike the flat Apfelmost that the older generation make in this village (which is really good!).

I'm very excited about making cider from our own apples, and have been reading some good books on the subject. But given my lack of experience, I don't know how ideal the mix of apples we have is for a good cider. However, these trees were most likely planted exactly for such use, so I'll just wing it this year and see how it goes. We have space for more trees, so as I learn, perhaps a few more varieties will be added to alter the blend a bit.

There's still much to before we get that far, but I'll post an update following the harvest and pressing. For now, here are some gratuitous shots of the apples waiting for harvest. If you recognise any, let me know!


Saturday, 8 August 2015

The Bierkeller, Part 5 - Done!

The beer cellar has come on massively since the last update. In the past two weeks, I painted the lime plaster, repointed another section of wall and built up the floor. That was done by last Monday, and I spent an hour just sitting in there, with a cold Galway Hooker Irish Pale Ale, taking a moment to just think about next steps.

But what was done this past two weeks? You can see a video here, or keep scrolling for nice photos. First, I cleaned back the floor, again, to get a relatively even surface, and then i painted the lime plaster areas with a highly breathable silicate paint.


Then last Friday week, I began with the floor construction. I hauled 2 tonnes of gravel in by hand - well, with buckets -  followed by almost of tonne of crushed stone. 


I laid a layer of geotextile to separate the gravel (actually, more like graded pebbles, with no sand content), from the crushed stone layer.


Then started the layer of compressed crushed stone.


This all took longer than expected, and there was a party to go to, so it was parked at that stage. On Saturday morning, I scavenged the barn to get as many bricks as I could find for the floor and, with the help of my son, gave them a good clean with a pressure washer.


Laying the bricks alone also took longer than I thought, and by six in the evening, I'd only gotten this far. At this stage, a neighbour who is renovating the house next door dropped by with beer, so that was that for the day!


Next morning (not too early) I decided I wanted to get this done, so put the skates on with a nice piece of hickory, and by 6 in the evening, had the brick part of the floor complete.


Essentially, I didn't have enough brick to do the complete floor, as I wanted, but our friend Sace, who always has good ideas, suggested wood to fill the gaps. We originally considered going to a sawmill to get thick fir boards, but given we had so many old boards in the barn, it made more economic sense to reuse them. On Monday evening, a few suitable boards were found and given the cleaning treatment with my trusty Makita brush sander.


Battens were laid and leveled on the crushed stone, at the appropriate depth, and the cleaned boards screwed to them, forming a floating raft that turned out to be very stable.


And it was done!


All that remained was to fit it out and get the beer in there! Yesterday I finished assembling and started stocking the shelves.


 And here's a reminder of how it looked when we bought the house.


There's even a special place for my Grandad's old crown cork opener.


Monday, 3 August 2015

Retrospective: The transformation of the living room

Given that our house renovation was such a long term, if not "life" project, this blog has been necessarily well spread out over the past few years, so I thought it would be worth doing a few recap posts to show how we progressed through each room. For new visitors, I hope it gives a flavour of what had to be done, and the effort we put into transforming this old house into our home.

We signed for the house in late 2010, but our own works didn't commence till April 2011, and planning permission didn't come through till May that year, as we wanted to make some changes to the structure, as well as change of use of some of the spaces.

The room that we started on was the living room, made up of a living room and a tiny dining room at the back. Here's how it was when we first viewed the house in Summer 2010.

The living room prior to purchase, Summer 2010.
After we signed, the previous owners cleared the place out, which included having to chainsaw the sofa to get it down the stairs, as it's pretty tight! So we were left with the four walls.


The first job was to start ripping stuff out. This was quite a bit more work than one might think, taking out the partition wall, ripping off the insulated plasterboard that covered some of the walls, knocking off the layers of old paint and original plaster on the others.
Some of the original stenciled patterns on the old plaster
The ceiling was completely plastered and the big oak beam crossing the room was sheathed in layers of white paint. Our first unhappy surprise was that one of the cross beam hidden by the partition wall was broken, held up by a post that formed part of the wall.


We had some nice surprises, though, discovering that two walls were made of limestone blocks, which we thought we could leave exposed as a feature wall. It needed a little imagination, though, as they were pretty grubby-looking when they were uncovered.


The whole house needed new windows, lots of them, and they had to be wooden framed, as the house is a protected structure. There were looooong delays with the window company, but finally, just before Christmas 2011, our lovely new windows were installed.


We swapped out the broken beam and took down the old plaster ceiling, exposing the 9 metre long oak beams that were hidden for probably a couple of centuries.


The old clay plaster ceiling, held together with paint

And then we sandblasted the limestone wall that would remain exposed, as well as the ceiling beams and repointed the limestone wall, a task I would be doomed to repeat in other locations over the next few years.


All the other external walls of the living were to be insulated from the inside, as the original architectural features like the half timbered wall to the south and the sandstone window frames of the gable wall, had to remain visible on the outside. The inside faces of these walls were, however, pretty uneven, not to mention far from vertical, so some evening out had to happen to give a good surface for insulating, with no air gaps. This was to be my first time plastering. I cheated somewhat by using a beading system, securing plastering beading to the wall, then flinging mud at the walls to build up layers as a keyed surface.


Then using a long float, it was easy to get a good, even final surface. Of course, this was just a base coat that would be later covered by insulation, so I wasn't worrying too much about a perfect finish, which was just as well.

On the brickwork, gable wall, we used 10cm styrofoam stuck to the wall as insulation, while on the half-timbered wall we used wood fibre insulation board, to the same insulation rating. More expensive, but breathable, so better for the timber.

October 2012. Getting the insulation up.

The it was time to start on the floor. we lifted the old, warped floorboards, discovering plenty of mice skeletons in the process, but no gold. Once the heating pipes were laid by Firma Bakan, I made a start on the floor under-construction. As the original beams were so uneven, it was quite a lot of work to set this up, with wedges, shims and anything to hand to build up an even, level framework.


In the meantime, the wall heating was also getting installed. Led by Sace Bakan, I was taught how to install the heating, from sticking the sheets to the insulation, to installing the loops of pipes that would carry the warm water through the walls, and finally anchoring the everything to the underlying solid wall with dowels, so the whole lot would stay there.


We had one last surprise in the living room, when we realised the solid oak base plate beams under the wall separating it from the stairwell was completely rotten. Again with the help of Sace and family (this time as a friend and not a contractor), within a week we had the wall out, a new poured concrete lintel on top of the cellar wall underneath, a new baseplate, and the beams re-supported by new posts.
Wall removed, and the big beam supported.
A short cut to the cellar.
New base plate and post in place.
The rotten beam.
After that, it just remained to build up the wall framework, with the door moved slightly to the left, so we could make it higher, and closer to the kitchen.


Attention had to be turned to the ceilings at this stage. We wanted to reinstate a clay plaster ceiling, but leave the beams - over which I had spent many, many hours cleaning - exposed. To provide a good foundation, we used a galvanised metal mesh nailed and screwed to the beams and underlying batons. The beams were wrapped in plastic, and the clay plaster applied. The plaster used was actually course-grained, normally used for base coats, but we liked the slightly more textured finis it gave once rubbed down with a sponge float. At the same time, the walls with the eating elements got plastered over using a standard lime-cement plaster.


With that done, and OSB sheets down as an underfloor, this really made the room feel like a proper room, and not just a building site!

Underfloor down and clay plaster ceiling finished
With the self-made windowsills fitted and the walls treated to a coat of fine plaster (later sanded), it was definitely looking homely.


A coat of paint on the walls, special old-white silicate paint on the clay ceiling, and a dose of oil to refresh the beams, all that was left was the flooring. We got a great price on solid oak boards, tongued and grooved, which we secured to the underfloor with thousands of screws (did not improve my tennis elbow), and we had a finished room!

December 2014. Not long now!
And so we finally moved in mid-February 2015. More or less 4 years after first taking a crowbar to the living room walls. It has finally become a home, though we're still growing into the space and "personalising" with decoration, pictures on the wall and furniture (so we can unpack the remaining boxes!). Not to mention the fact we still don't have internal doors yet, but all in its own good time.


Of course, all of the tasks described above were not done one after another. There was plenty of the same thing going on in all the other rooms, hence how long the project took over all. But more of that in the next retrospective post.